If you've ever struggled to upload photos to a website, run out of storage on your device, or tried to email images that were too large, you're not alone. Large image files can slow down websites, drain mobile data, and complicate sharing across platforms.
Compressing pictures can help address these common issues. It reduces file size without compromising quality, making images faster to upload, easier to share and store, and more efficient for website performance.
We’ll show you step-by-step how to reduce image size on iPhone, Mac, and Windows, along with pro tips for maintaining image quality.
How to compress an image with PDF Guru?
Instead of dealing with complex software like Photoshop or GIMP, you can use PDF Guru — a simple photo compressor that works online.
Here are the steps:
- 1Go to the Compress Image tool and upload your file.
- 2
Select a compression level:
- High: Best for email or web, where a smaller file is more important than perfect detail.
- Medium: A solid balance between image quality and file size.
- Low: Keeps the most detail, great if you plan to print or need top-notch clarity.
- 3Click Compress. Our online image compressor will process your image in seconds.
- 4Download your optimized file. Note: All processed files are also saved to your account.
Supported file formats: With PDF Guru, you can compress JPEG / JPG, PNG, and HEIC.
Convert between image formats for better compatibility
Sometimes it's not just about shrinking image size. You might also need to change the file format depending on how you plan to use the image.
For example:
- Want faster loading on websites? Switch from PNG to WEBP — it’s a newer format that offers smaller file sizes with great quality.
- Editing an image? Some tools work better with specific formats, so converting first can save you headaches later.
If you don't have the right image format, use our Conversion tool. It can convert JPG to PNG, PNG to WEBP, and more. It’s quick, easy, and doesn’t compromise quality.
How to determine the right size for compressing an image?
To determine the right size for compressing an image, consider the image’s intended use, desired quality, and the limitations of the delivery platform.
For example:
- Sharing online? JPEG and WEBP are great options because they keep images looking good while taking up less space. Medium to high compression usually works best.
- Printing it? Aim for maximum quality with minimal compression and a high resolution (300 DPI or more). TIFF or PNG formats are ideal for keeping fine details and accurate colors.
- Sending by email or chat? Keep it light. Go with JPEG or, if you’re on iPhone, HEIC for a smaller file without too much quality loss.
What is the difference between a compressed and uncompressed image?
The main difference between compressed and uncompressed images comes down to how they handle image data.
Uncompressed files keep every bit of pixel information, which means bigger file sizes but the highest possible image quality. Compressed images, by contrast, shrink the file size by removing some data, which can lead to a slight drop in quality, especially when using lossy compression methods.
When should you use each type?
Uncompressed images are best when you're:
- Editing photos and need every detail intact.
- Printing high-quality materials like brochures, posters, or large prints where clarity really matters.
- Storing original versions of your images without any loss in quality.
Choose compressed images when:
- You’re uploading photos to a website or blog and want them to load quickly.
- You’re sending images via email or messaging apps, and file size is a concern.
- You need to free up space on your device or in the cloud without sacrificing too much quality.
Lossy vs lossless compression
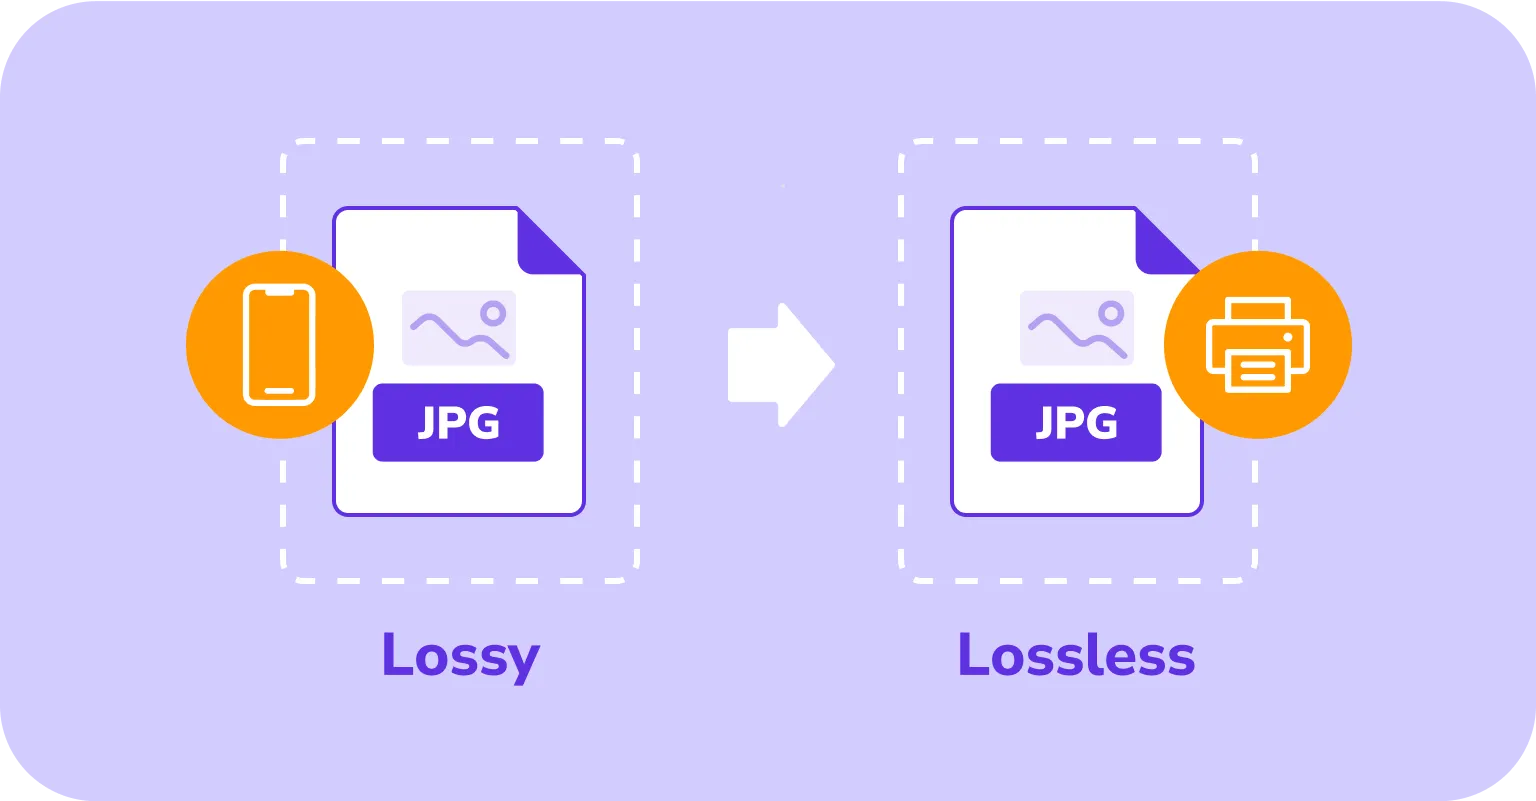
Lossy compression cuts file size by removing some image data, which may slightly reduce quality, but makes files much quicker to share or load online. Lossless compression keeps every bit of detail while still reducing size, making it ideal for printing, editing, or saving original images.
Types of lossy compression and when to use them
| Format & type | Purpose | Use cases |
|---|---|---|
| JPEG (images) | Shrinks photo size while keeping good visual quality | Sharing photos online, adding images to blogs, posting on social media, sending by email |
| WebP (images) | Produces small, high-quality images that can also have transparent backgrounds | Website graphics, banners, e-commerce product images |
| MP3 (audio) | Reduces audio file size by removing sounds most people won’t notice | Streaming music, podcasts, storing audio on mobile devices |
| AAC (audio) | Keeps sound quality high while using less space than MP3 | Music streaming apps, downloadable audio files, mobile music libraries |
| H.264 / H.265 (HEVC) (video) | Delivers high-definition video at much smaller file sizes | Streaming services (Netflix, YouTube), broadcasting, video calls |
| MPEG (video) | Compresses video for smooth playback and smaller storage needs | Streaming on websites, digital TV, video hosting platforms |
Types of lossless compression and when to use them
| Format | Purpose | Use cases |
|---|---|---|
| PNG (images) | Keeps all image detail, supports transparency | Logos, web graphics, images needing sharp edges and quality |
| RAW (images) | Captures complete sensor data for full editing control | Professional photography, detailed post-processing |
| BMP (images) | Maintains high resolution and color accuracy | Digital art, high-quality printing, design work |
| GIF (images/animation) | Supports lossless images and simple animations | Web graphics, icons, basic animated elements |
| FLAC (audio) | Preserves original sound quality with reduced size | Music production, archiving audio, audiophile listening |
| ZIP / GZIP (files) | Compresses any file type without losing data | Document sharing, software distribution, backups |
Does image format impact compression quality and load speed?
Yes, the image format you choose can make a big difference in both quality and loading speed. A good format makes the file smaller, so it uses less internet data and opens more quickly. Because some formats don’t work in all browsers, choose one that is widely supported.
How to compress a photo on an iPhone?
You can reduce photo size by using compression apps or online tools. Also, some messaging apps will do it automatically when you send a picture.
If you want your iPhone to save photos in a smaller file size right from the start, you can change the default format in your camera settings. Here’s how:
- 1Open the Settings app, scroll down, and tap Camera.
- 2Tap Formats.
- 3Choose High Efficiency (HEIF) for a smaller file size with good quality, or Most Compatible (JPEG) for larger files but broader compatibility.

How to compress a photo on Mac?
You can reduce image file sizes on Mac devices in several ways. Built-in tools let you resize or change formats in the Photos app, use Quick Actions in Finder, or crop and adjust image quality in Preview.
Alternatively, you can use third-party or online tools like ours. Check out our blog post on ways to compress an image on Mac.
The most flexible built-in image condenser is still Preview, which lets you control image dimensions and quality. Here are the steps:
- 1Open the image in Preview.
- 2Go to File → Export.
- 3Use the Quality slider: drag it to the left to make the file smaller.
- 4(Optional) Pick a different format, like JPEG, for a smaller size.
- 5Choose a save location and click Save.
How to compress a photo on Windows?
| Format | Purpose | Use cases |
|---|---|---|
| PNG (images) | Keeps all image detail, supports transparency | Logos, web graphics, images needing sharp edges and quality |
| RAW (images) | Captures complete sensor data for full editing control | Professional photography, detailed post-processing |
| BMP (images) | Maintains high resolution and color accuracy | Digital art, high-quality printing, design work |
| GIF (images/animation) | Supports lossless images and simple animations | Web graphics, icons, basic animated elements |
| FLAC (audio) | Preserves original sound quality with reduced size | Music production, archiving audio, audiophile listening |
| ZIP / GZIP (files) | Compresses any file type without losing data | Document sharing, software distribution, backups |
Tips to reduce picture size before compressing
Want to make your images smaller even before you compress them? Try these quick tricks:
- Resize large images: Shrink high-resolution photos to the actual size you need (fewer pixels mean smaller files).
- Crop what you don’t need: Extra space only adds to the file size.
- Export smart: Use “Export” or “Save for Web” in tools like Photoshop or Canva to get optimized images.
- Switch formats: JPEGs are usually smaller than PNGs.
- Remove metadata: Get rid of hidden details like camera info and location to shave off extra file size.
Master PDF productivity with PDF Guru
PDF Guru simplifies file management. In addition to image compression, it lets you convert images into PDFs, merge multiple PDFs, split pages, and make quick adjustments, all in your browser.